Easter Cake Sandwiches
As an Amazon Associate and member of other affiliate programs, I earn from qualifying purchases.
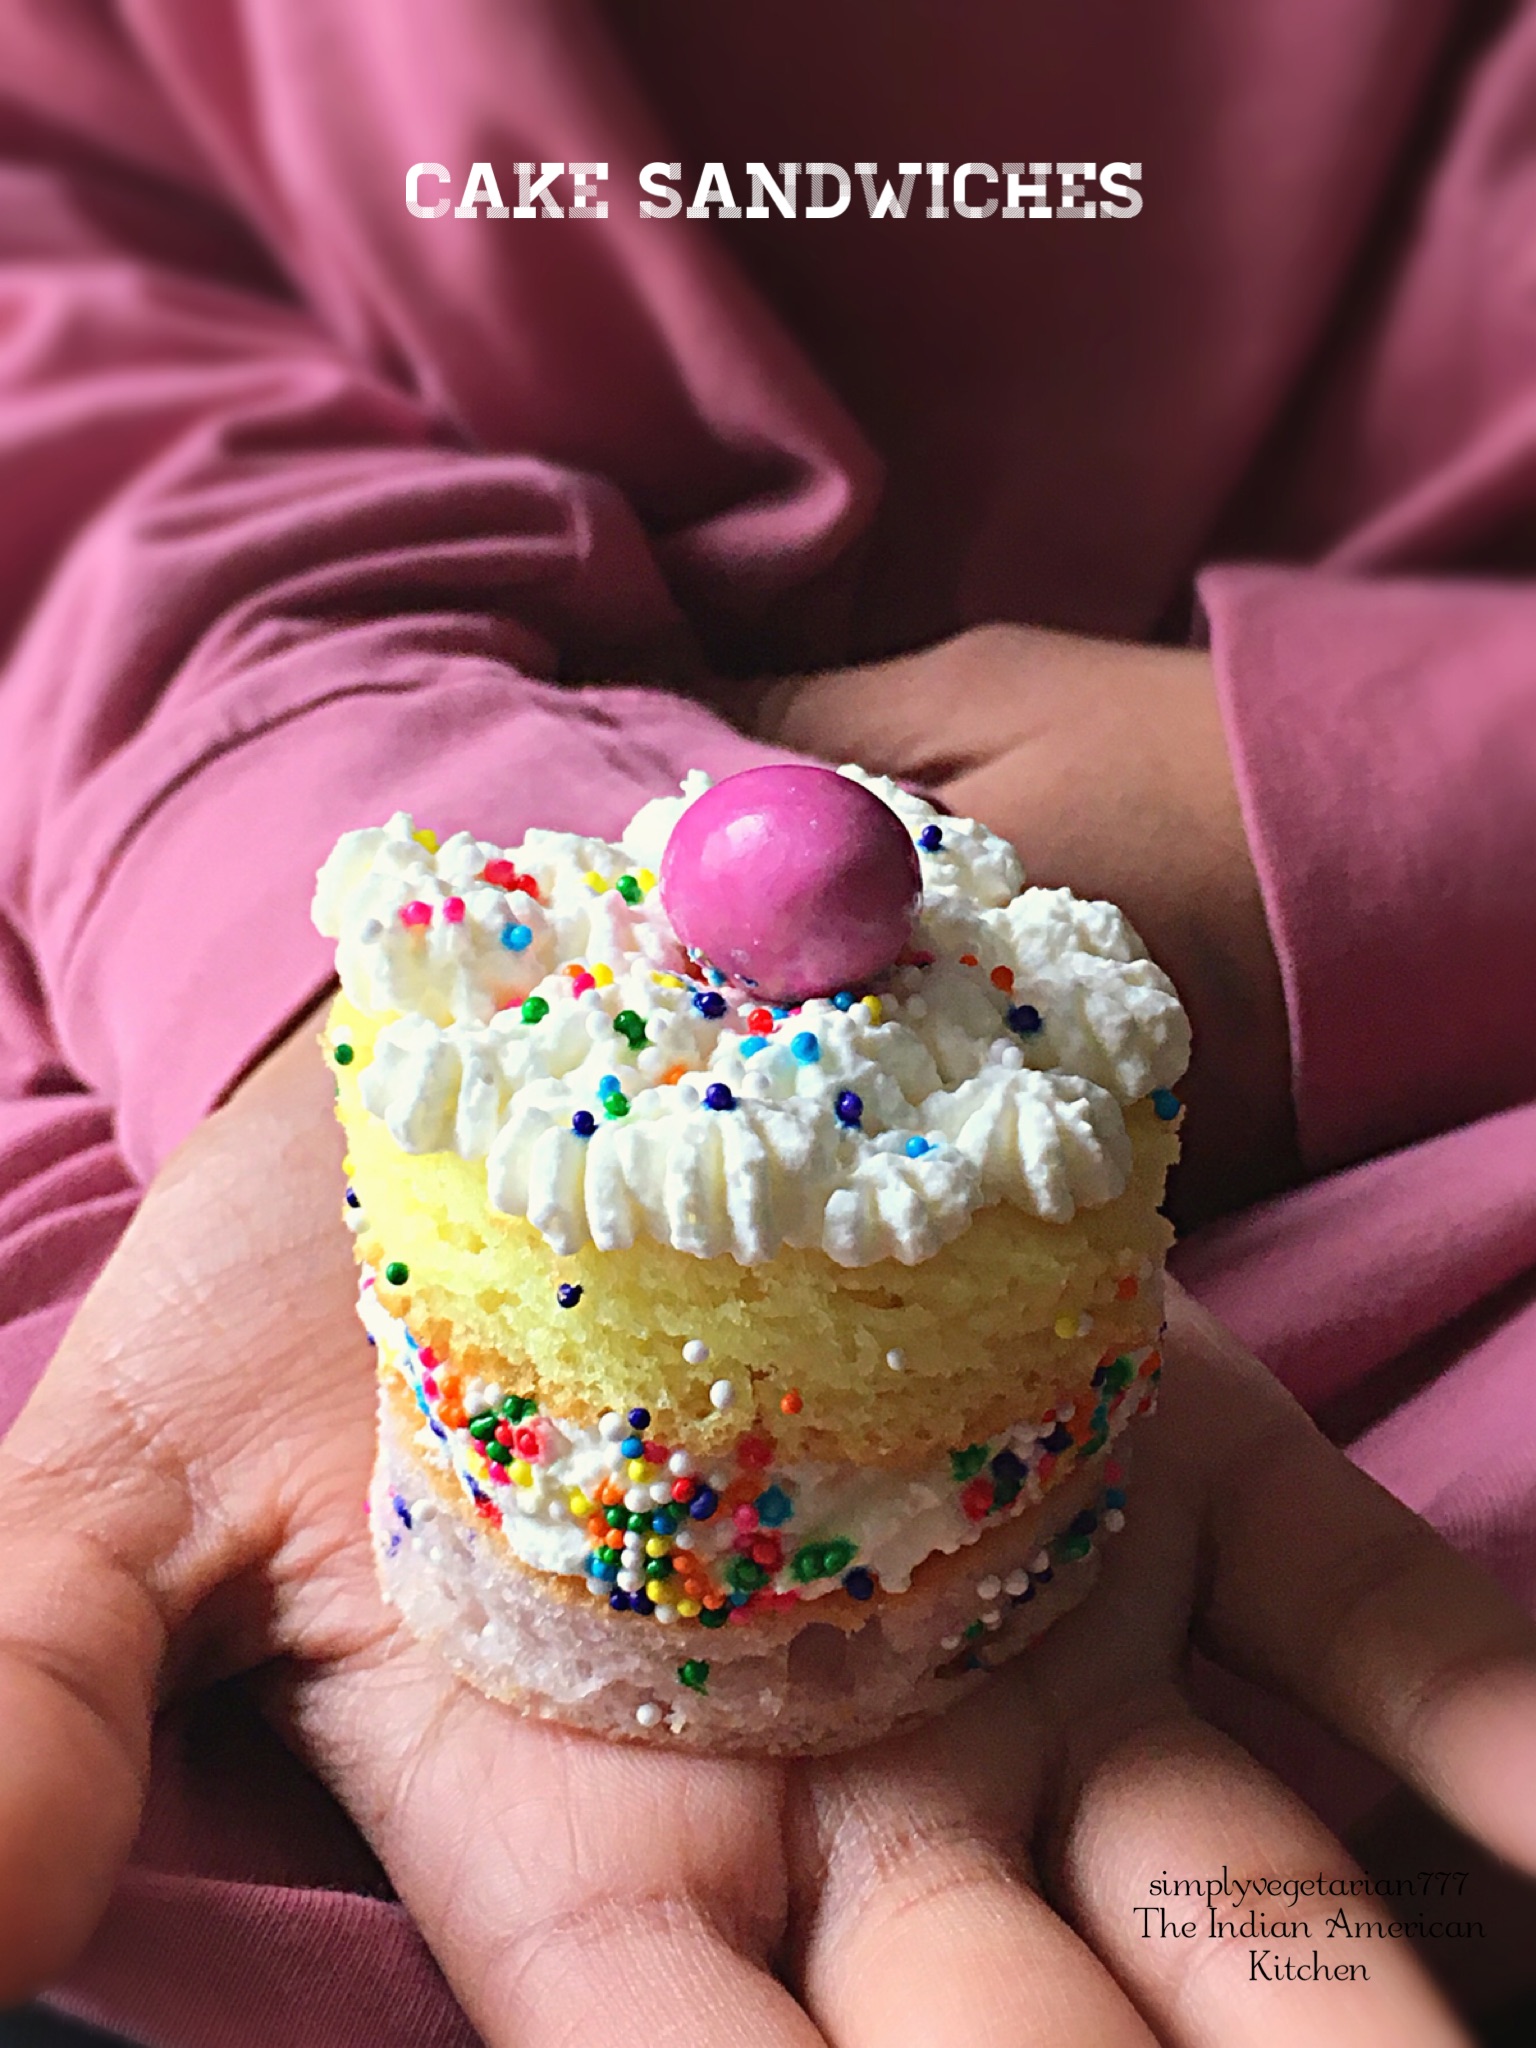
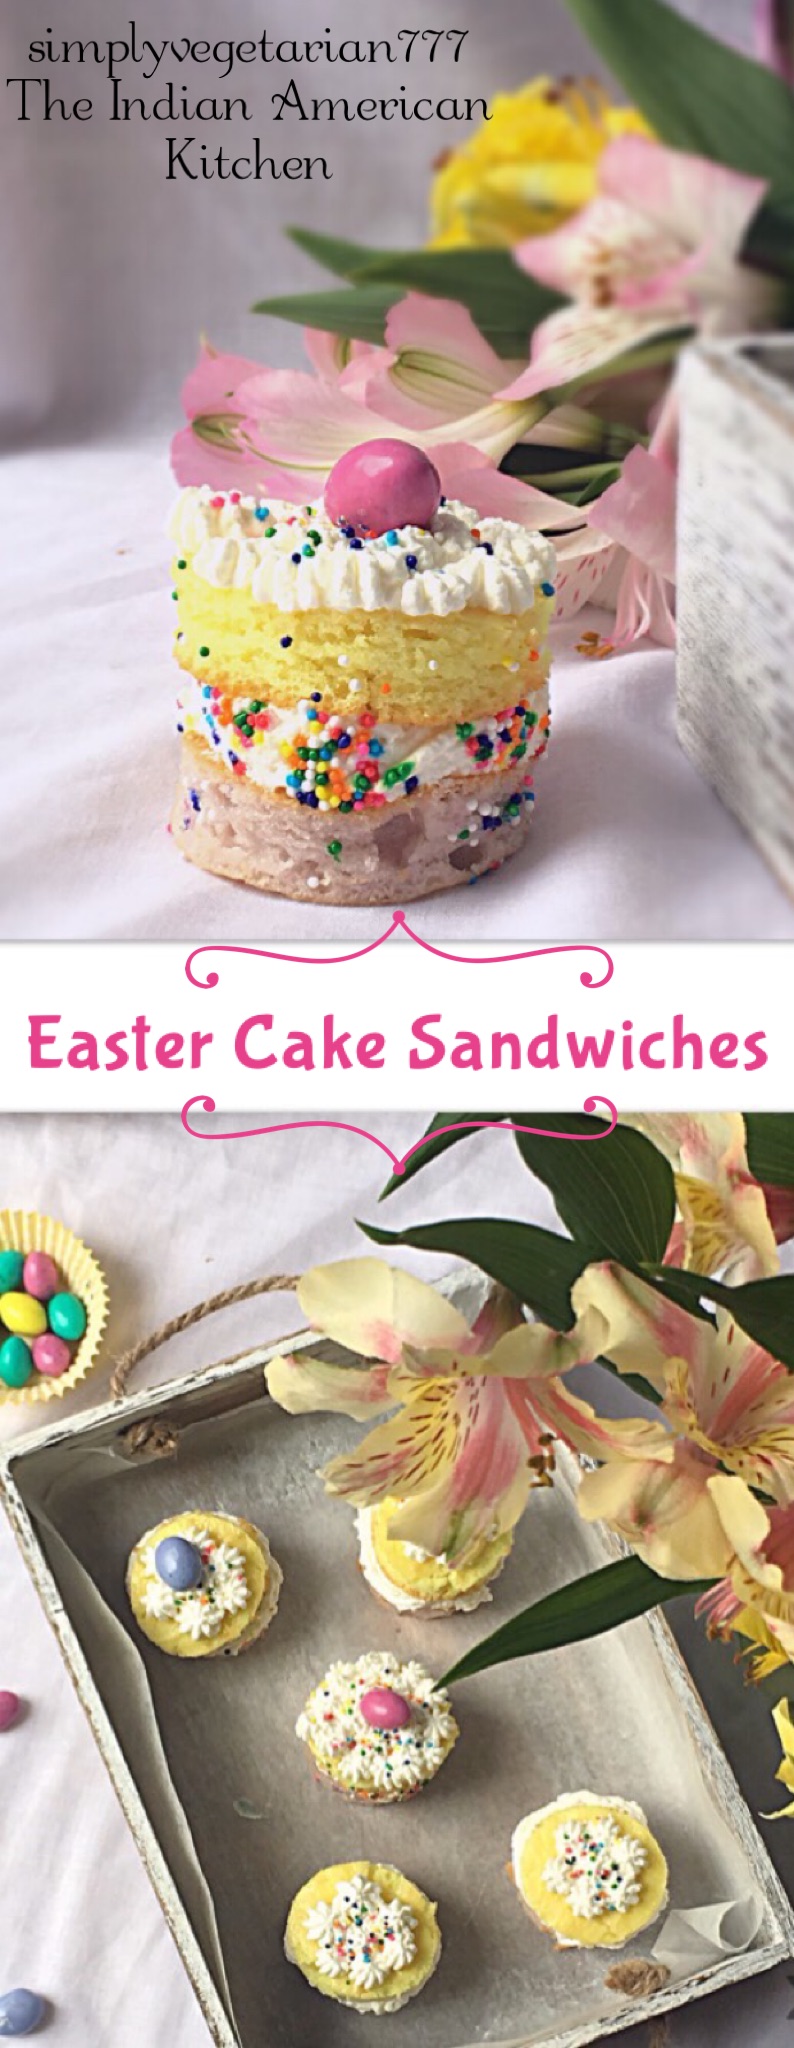
Easter Cake Sandwiches are little colorful cakes that have whipped cream spread in the middle. These are made using ready to bake Cake Mix. The cake sandwiches are so easy that you can bake these at the last minute for your Easter Party and decorate as desired.
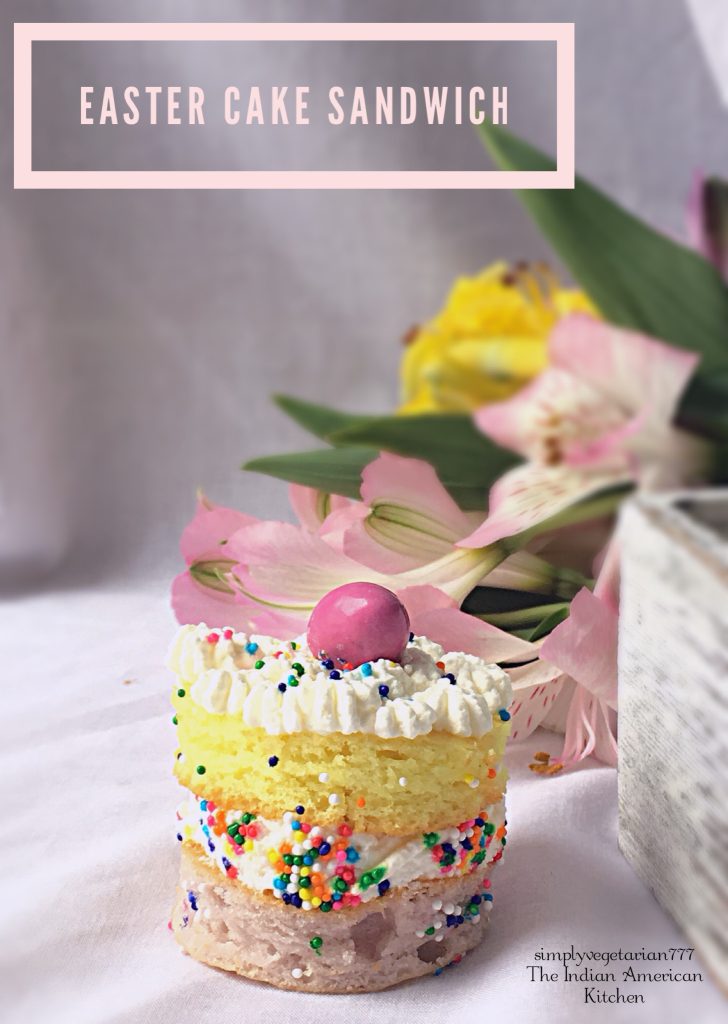
Easter Cake Sandwiches
This Sunday is Easter and kids have started the spring break. They will be home for the Looooong Weekend. Ask any mother and she would say that it is a mixed feeling..happy and sad.
It is a herculean task to keep kids entertained and off from killing each other with wits and hands..no kidding….Aiyaeeyaee.. The bright side is that I do not have to wake up at 5:30 am and get few more hours of sleep. Plus no stress of lunch packing….Yayy!
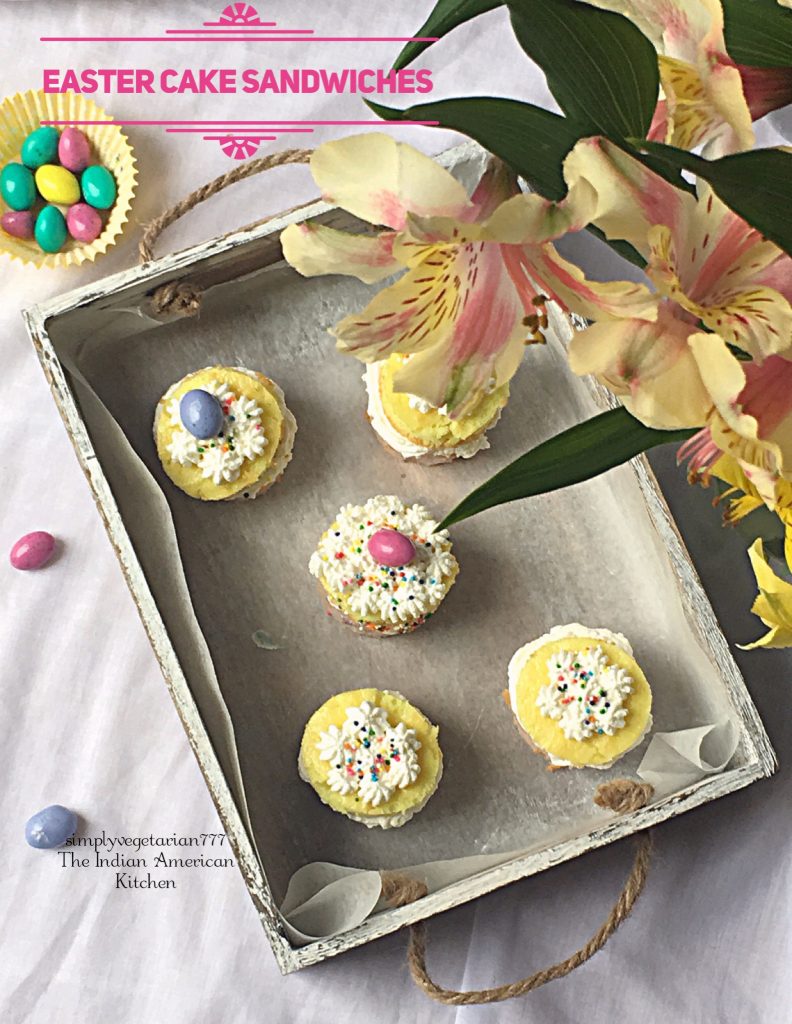
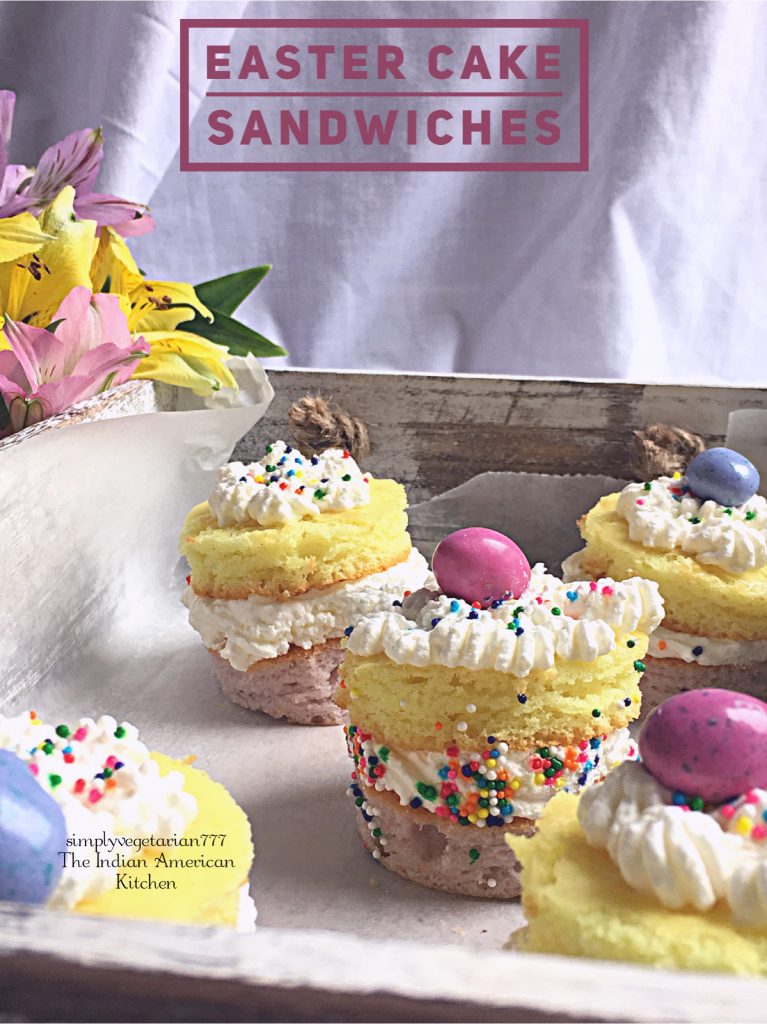
And yes, I get to cook and eat more fun when kids are home. They love it and I love it too. Like these fun little Cake Bites which I am calling Easter Cake Sandwiches. These have fun color of spring and are perfect 2 inches Bite size desserts. Moreover these sandwiches are so easy to put together that these will be a staple on your brunch or dessert table.
Since I used Pillsburry Ready to Bake White Cake Mix for this recipe, it is more handy to use anytime as a base for many other cute creations. For more options to use as a BASE for your Cake Sandwiches, below are more options.
The Cake Options for this Recipe
- Use any brand White Cake Mix for this recipe like Betty Crocker, Duncan Hines etc.
- You can bake your own White Cake from scratch and use it as a base.
3 components of this Cake
This Cake has 3 components to it –
- White Cake – As mentioned above, use ready to bake cake mix as I did or bake from scratch. Bake the cake on a cookie sheet so it is flattish and not high.
- The colors – I used COLOR GARDEN brand colors for this recipe. Their colors are Natural Dyes extracted from Plants. Therefore, these are safe for consumption. You may choose any natural organic brand. The colors used are BLUE and YELLOW.
- Heavy Whipped Cream – This is the 3rd component of this recipe. You may use ready to use cool whip for this recipe. OR Beat your own HEAVY CREAM perfectly to use. Read the tips and tricks for perfect icing, as given below.
Some Tips to Make Perfect Icing with Heavy Cream
- Use Heavy cream for making the icing. The more the fat content in the cream, better it would be. Do not use Light Cream or Half & Half.
- Use steel or glass bowl for whipping the cream.
- For BEST RESULTS – Before whipping the cream, place the blades of the electric beater or the wire whisk in the freezer for about 10 minutes. Similarly, place the bowl that you will use for whipping, in the freezer also.
- Keep your Heavy Cream chilled and keep it in freezer for 5 minutes before you whip it into icing, for best results.
Few other Single Portion Easy Desserts from the Blog are
No Bake Cheesecake in a Dessert Bowl , Mocha Pudding , Vanilla Pudding , No Bake Chocolate Cheesecake and more.
This is how to make Easter 🐣Cake 🍰 Sandwiches
Easter Cake Sandwiches
Ingredients
FOR CAKE BASE
- 1 Box White Cake Mix Pillsburry or Betty Crocker or any good brand
- 1/2 Cup Cooking OIl
- 1 Cup Water
- 3 Eggs or 3/4 Cup Thick Yogurt for Egg-free option
COLORS for the CAKE
- 5 Drops Natural Yellow Food Color Color Garden or any good brand
- 7-8 Drops Natural Blue Food Color Color Garden or any good brand
CREAM ICING
- 1 Cup Heavy Cream
- 1 Tablespoon Powdered Sugar
EXTRAS
- Some Colorful Sprinkles optional
- Some Milk Chocolate Eggs optional
Instructions
WHIPPED CREAM ICING
- Place the blades of electric beater and Steel or glass bowl in the freezer for 10 minutes. Also place the Heavy cream in the freezer for 5 minutes.
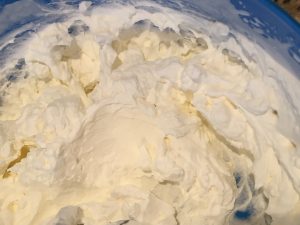
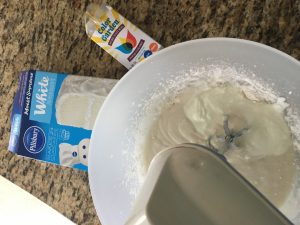
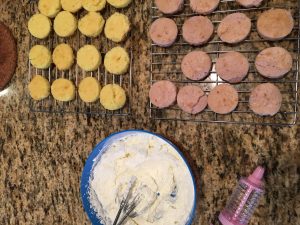
- Take out the blades, bowl and cream from freezer. Place the Heavy cream and powdered sugar in the chilled mixing bowl. Beat it with chilled blades of electric beater for EXACTLY 3 MINUTES. By the end of 3 minutes you will get stiff cream peaks which will hold their shape on its own. The whipping cream for icing is ready. This time can vary in hot summer days. See the picture to get the idea of consistency of whipped cream. Place it back in either freezer or the back of refrigerator till you are ready to use it. You can whip the cream a day earlier as well and refrigerate to use the next day.
Baking the 2 Color Cake
- Preheat the oven at 180*C / 350*F as instructions given on the cake box. Line a cookie sheet with parchment/butter paper and set aside.
- Take a large mixing bowl. Empty the cake mix into the bowl and as per instructions add water+oil+eggs to the bowl. If you want to skip the eggs then use 3/4 cup of thick yogurt for the same, as I did and it came out well. Mix all the ingredients well for 2 minutes with a whisk or electric beater.
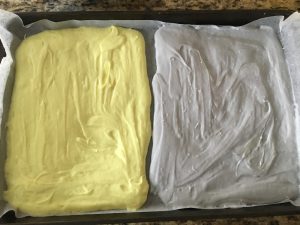
- Divide the cake batter into 2 equal parts, almost 2 cups each. Add 4-5 drops of Yellow Food Color in one part and mix well with a spoon or fork. I used less since I wanted pastel color. For your perfect color, add 1 drop at a time to reach your color. Now add 7-8 drops of Blue Food Color to the other part of the cake and follow the same instructions as for yellow color. The blue color will give you a kind of lavender tone. For deeper color, use more color.
- Now pour yellow batter on one side of the cookie sheet and blue/lavender batter on the other side of the sheet. We want THIN SHEETS of Cake to cut and decorate. Tap the tray and spread the batter evenly.
- Bake the cake for about 20-25 minutes till it is fully baked. Start checking for done-ness at about 18 minutes. Mine was done in 25 minutes. This time might vary depending upon the type of oven or the weather outside.
- Take the cake out. Let it rest in pan for 10 minutes. Separate the yellow and lavender parts with a knife and then transfer on cooling racks for complete cool down. This will be delicate as it is a thin sheet of cake. Handle with care.
- Once the cake is completely cooled down, spread a parchment paper on kitchen counter and transfer the cooled cake sheets to it. Now take a round shape cookie cutter that is 2 inches in diameter. Cut out circles/rounds out of each color cake and set these on cooling racks. Keep the whipped cream ready.
Creating EASTER CAKE SANDWICHES
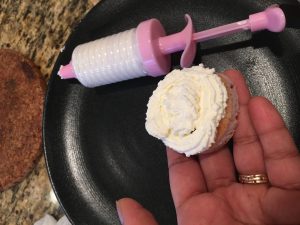
- Take one lavender cake round. Place it browned side up. Add thick layer of whipped cream icing on it. I used star nozzle in the piping bag to do so. But you do not have to use it. You can simply spread some with a butter knife.
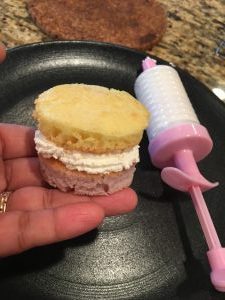
- Place the Yellow cake round on top with its browned side facig the cream and pretty yellow facing outside. The Cake Sandwiches are ready.
Decorating Cake Sandwiches
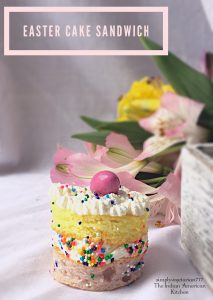
- Roll these sideways into some colorful confetti sprinkles. Add some Icing on top too. Place a Milk chocolate Egg in middle. Sprinkle some more confetti sprinkles. Refrigerate till ready to consume.
- Your EASTER CAKE SANDWICHES are ready
I am sure you are going to bake these soon and share with friends and family. This is such a user friendly recipe that even your kids can bake and decorate on their own. Rather this would make a great Easter Craft to do with kids.
You can order the following from AMAZON to make this recipe. IT won’t cost you extra but help keep this blog running.
Can’t Bake it Now? PIN IT FOR LATER!
In my kitchen, you will always EAT HAPPY & STAY HAPPY!
Cheers🥂
Sonal


Thank you for sharing such a cute idea. They look delicious. I have never tried a cake sandwich but I can imagine how delicious they are <3
I am Glad you liked it 🙂
OMG!! This Easter Cake Sandwich looks really tempting. I bet my niece would love this so much because of the eye-catchy color.
Thank you Angel :). I hope you try it!